


Canning and lid sterilization is necessary not “for order,” but for food safety. Even a well-prepared preservation can spoil if there are contaminants, yeasts, mold, or bacteria left in the container that survive washing and begin to multiply after sealing. This is especially important for homemade preserves, as the product is stored for weeks or months, and sometimes kept at room temperature. The cleaner the container at the start, the lower the risk of fermentation, lid bulging, mold, and unpleasant odors.
Sterilization does not replace the normal technology of the preservation itself. If the recipe requires sufficient heating, proper acidity, salt, cooling, or refrigeration, a sterile jar alone will not save the product. However, a clean container significantly reduces the likelihood of spoilage, especially for jams, berries in their own juice, sauces, compotes, and other homemade preserves.
What to do before sterilization
First, inspect the jars and lids. Jars with cracks, chips on the neck, or damaged threads should be removed immediately: such jars seal poorly and may break due to temperature changes. The lids should also be free of deformation, rust, and damaged inner coatings.
Before sterilization, jars must be washed under running water with a new clean sponge. If it concerns sweet or regular homemade preparations, a detergent can be used, including antibacterial ones, followed by thoroughly rinsing off any residues. After washing, jars should be placed neck down on a clean towel to allow the water to drain. It is better not to touch the inner surface with hands unnecessarily.
Next, choose a sterilization method based on the volume of the jars, the number of jars, and the available equipment. For two or three jars, using steam or a microwave is convenient. For a larger batch, an oven or a wide pot with water is often simpler.
Canning Sterilization in the Oven
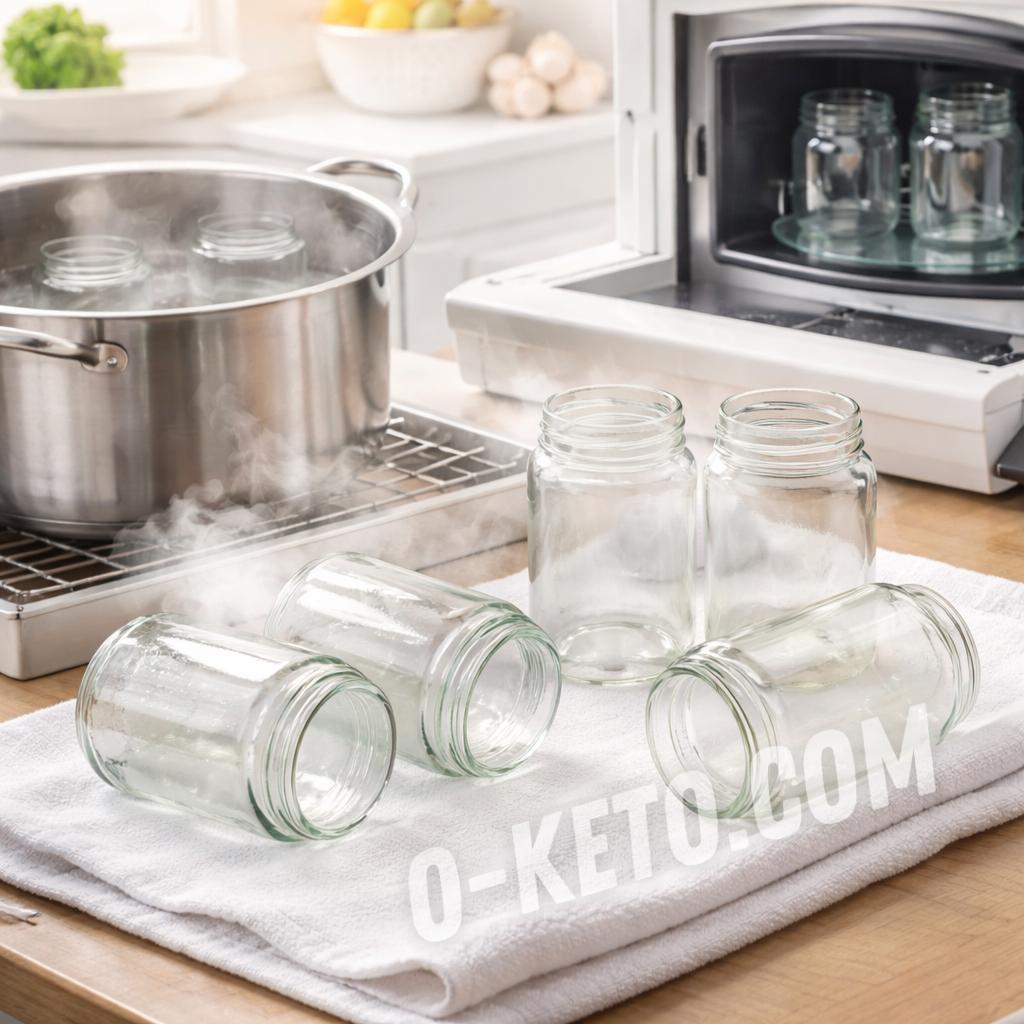
This is one of the most convenient methods for multiple jars at once. Clean jars are placed on a rack at the middle or slightly below the middle level so that they do not touch each other or the walls of the oven. A tray with water is placed on the lower level. The oven is set to 120-130 °C and the jars are kept for 15-20 minutes.
If you want a clearer guide by size, once the oven has reached temperature, 500 ml jars usually need about 10-12 minutes, 1 liter jars about 15 minutes, and 3 liter jars around 20-25 minutes. If the jars still look damp after washing, giving them another minute or two helps dry the interior completely before filling.
After turning off the oven, do not grab the jars with a wet towel. The towel should be dry: a sharp temperature drop due to moisture can lead to cracking. This method is especially convenient for a batch of identical medium-sized jars when you need to quickly prepare several containers in a row.
Sterilization in a Pot of Water
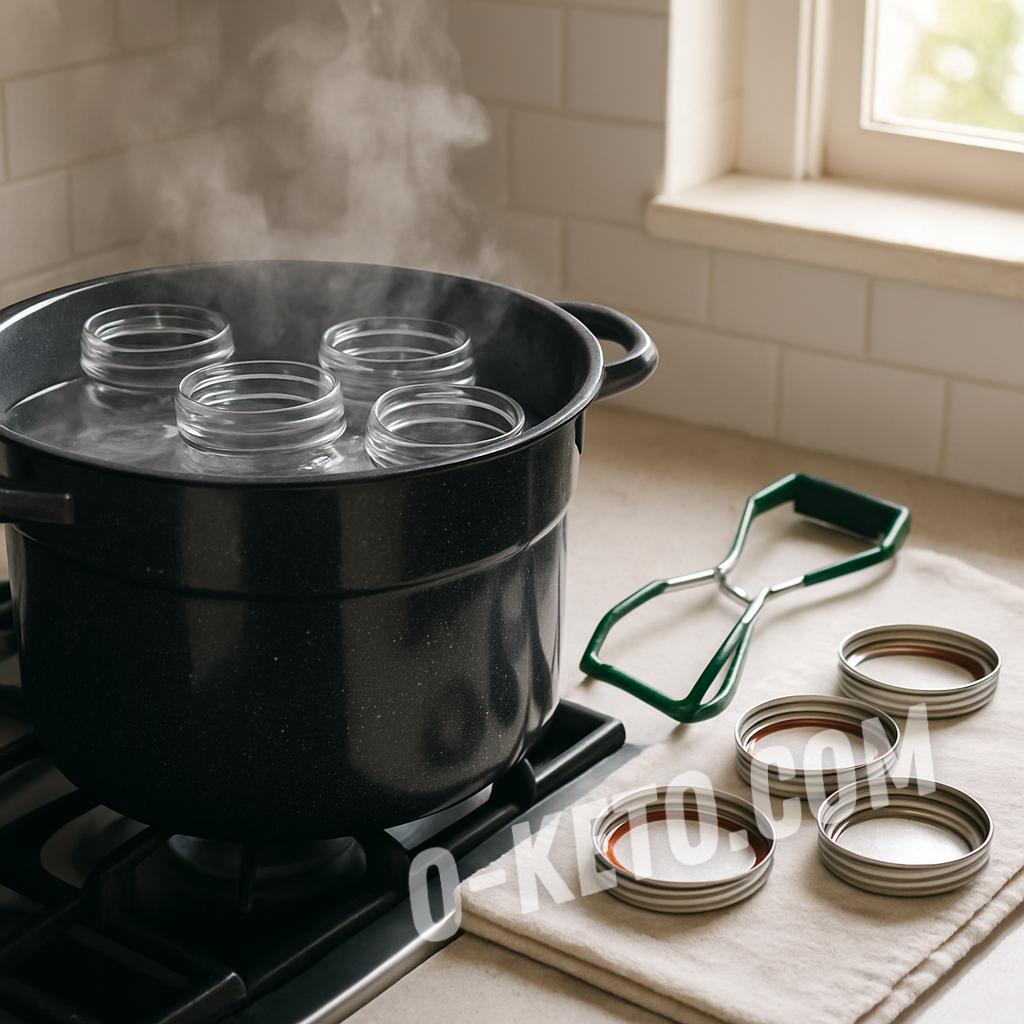
Clean jars are placed in a large wide pot and filled with cold water. The jars inside should also be completely filled with water. Small jars can be laid on their side if that is more convenient. Then the pot is placed on the heat, the water is brought to a boil, and the jars are boiled for 15 minutes.
After turning off the heat, the jars are carefully removed and placed neck down on a clean dry kitchen towel. This method is reliable but requires space and is not always convenient for very large jars. However, it is straightforward and does not depend on the specifics of a particular oven or microwave.
Steam Sterilization
Water is poured into a pot, and a metal rack, ring, or special sterilizer is placed on top. When the water boils, the dry jar is placed upside down and held for 15 minutes. For three-liter jars, the time is increased to 20-25 minutes. Large droplets should appear on the inner surface.
After processing, the jars are placed upside down on a dry towel. This method is very reliable, but slower than the oven, because jars are usually sterilized one or two at a time. It is convenient when there are only a few preparations or when you need to quickly prepare one jar for sauce, berries, or a small batch of jam.
Sterilization in the Microwave and Dishwasher
For the microwave, pour about 1.5-2 cm of water into clean jars and place them on maximum power for 3-5 minutes. The water should boil, and the walls of the jar should be covered with large droplets. After that, drain the water, place the jars upside down on a clean dry towel, and let them dry. It is important to remember that metal lids should not be placed in the microwave.
The dishwasher is the most convenient household option if you simply need to prepare clean jars for further hot preservation. Place the jars in the machine and start the cycle at maximum temperature without detergent. This is convenient, but this method is better considered a practical option for clean containers rather than a universal solution for any preservation for long-term storage.
How to Sterilize Lids
Lids are simpler. The easiest way is to dip them in a saucepan of boiling water for 1-2 minutes. This is enough to treat the surface before sealing. Usually, there is no need to keep the lids in boiling water for long, especially if they have an internal polymer coating: excessive overheating can only accelerate wear.
After processing, the lids are taken out with a clean tool or the water is carefully drained and they are used immediately. If the lid is already sterilized, but the jar is not ready yet, it is better not to touch the inner part with hands and not to place it on a contaminated surface.
Why hot preserves are best poured into hot jars
If you are packing jam, tomato base, hot sauce, compote, or another boiling preserve, it is better to pour it into jars that are still warm or hot after sterilization. Warm glass tolerates hot filling more calmly, and the food itself stays hotter for longer before final sealing.
A cold jar filled with a very hot preserve creates unnecessary thermal stress for the glass. Problems are especially common with thick sauces, vegetable bases, and jams, where the mass is heavy and lands in one spot first. That is why many home canners sterilize the jars first, keep them warm, and only then fill and close them.
When Sterilization of Already Filled Jars is Necessary
For some homemade preparations, not only empty containers are sterilized, but also already filled jars. This is especially relevant for jams, berries in their own juice, and similar products that need to be stored safely and for a long time. The jars are closed with lids but not tightened completely yet.
In a pot, heat water to hot but not boiling. Place the jars inside so that the water reaches about the shoulders, then bring to a boil and reduce the heat. The boiling should remain small but constant. The further time depends on the total volume of the jar:
- up to 500 ml — 5 minutes;
- 500-800 ml — 10 minutes;
- 800-1100 ml — 15 minutes;
- 1100-1400 ml — 20 minutes;
- 1400-1700 ml — 25 minutes;
- 1700-2000 ml — 30 minutes.
After sterilization, the jars are carefully removed, immediately sealed completely, and left to cool according to the specific preparation technology. At this stage, carefulness and stable heating are important, not “maximum vigorous boiling”.
Common Mistakes
Most often, problems arise from repeated small issues:
- using jars with chips or cracks;
- poorly rinsing the detergent;
- taking a wet towel for a hot jar from the oven;
- touching the inner part of lids and jars with hands after processing;
- not maintaining the sterilization time for large containers;
- trying to sterilize metal lids in the microwave.
Due to such mistakes, the container may formally be considered “processed,” but in practice, the risk of spoilage remains high. If you want to simplify the process, it’s better to choose one clear method and stick to it rather than mixing several methods without controlling temperature and time.
Conclusion
For home canning, jars are first washed and inspected, then sterilized using a convenient method: in the oven for 15-20 minutes at 120-130 °C, in boiling water for 15 minutes, over steam for 15 minutes, in the microwave for 3-5 minutes with a small amount of water, and the lids are boiled separately for 1-2 minutes. If the recipe requires additional processing of already filled jars, the sterilization time is chosen based on the volume of the container. The most important principles here are simple: clean containers, dry tools, careful handling of hot glass, and precise adherence to time.
Sources
- USDA Complete Guide to Home Canning: Principles of Home Canning
- National Center for Home Food Preservation. Sterilizing Empty Jars
- Centers for Disease Control and Prevention. Home-Canned Foods and Botulism Prevention
- USDA Food Safety and Inspection Service. Shelf-Stable Food Safety
- University of Minnesota Extension. Preserving Food at Home: Canning