


Molded ice cream is a frozen filling made in a form and covered with a thin chocolate shell after it is completely frozen. The result depends on the base, the mold, the order of work, and the temperature of the coating. A cold dry piece, a quick dip, and an immediate return to the freezer are the key steps.
Choosing a base
The base must contain enough fat and solids to hold its shape. Custard, coffee, chocolate, and savory cheese bases work well. A watery sorbet can crack when removed from a mold and melts quickly. Chill the base fully, then rest it in the refrigerator so that fat and stabilizer can develop structure.
For a keto version, use sugar-free chocolate and add cocoa butter if a thinner coating is needed. Cocoa butter improves flow and helps create a fine shell, but it cannot compensate for a warm or poorly frozen piece.
Molds and frozen pieces
Clean, dry silicone molds release the pieces without warming their sides. Small shapes are easier to freeze through. Fill the cavities evenly and freeze for at least 12 hours. Keep the mold in the freezer until the moment of coating; take out only two or three pieces at a time.
Chocolate temperature
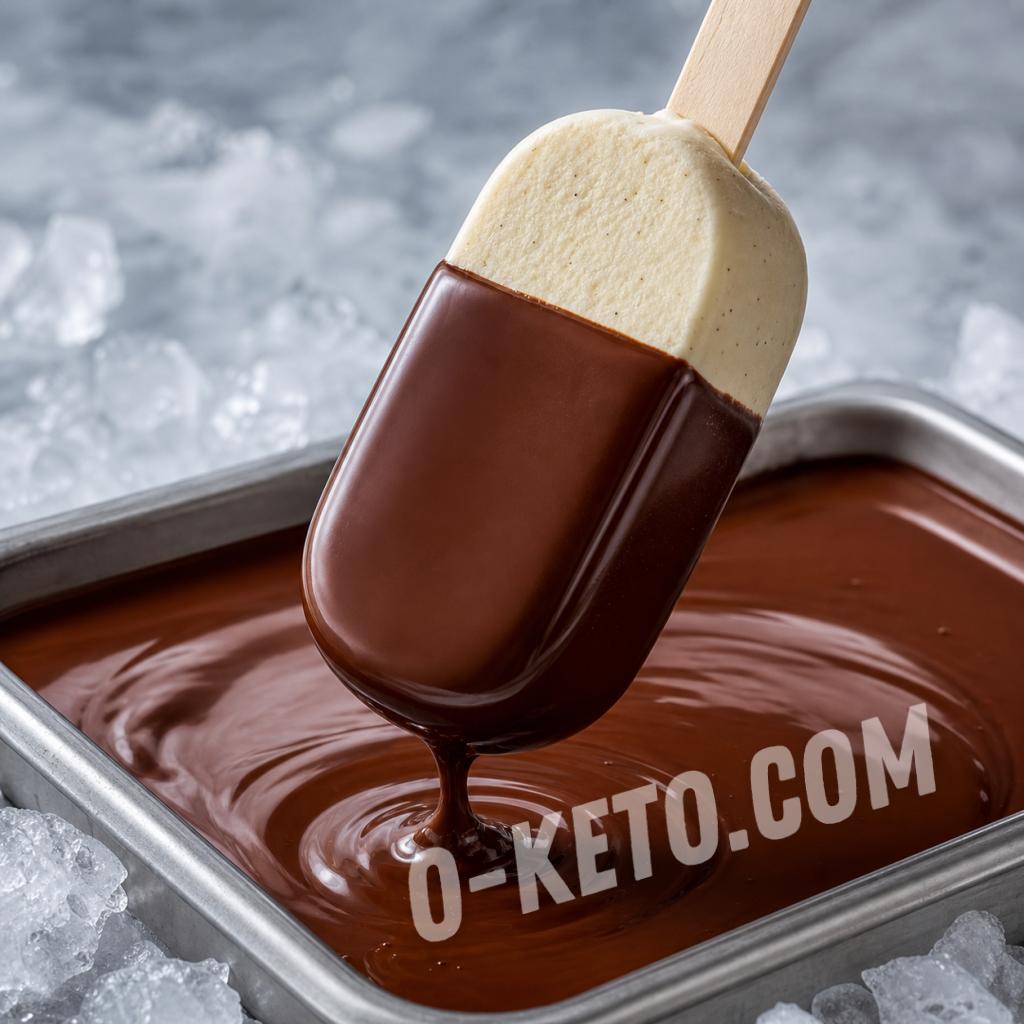
Melt chocolate and cocoa butter to about 38–42 °C, stir, and cool the coating to a working range of 30–34 °C. Hot coating melts the surface; cold coating becomes thick and uneven. Use a narrow container with enough depth. Dip once, let the excess run off, and put the piece on a cold tray.
Protecting the shape from melting
Prepare the tray, parchment, container, and freezer space before removing the first piece. Work in small batches. A freezer around −18 °C is suitable for storage; colder pre-freezing gives more working time, but avoiding repeated thawing is more important than chasing a number.
Cracks and separation
Cracks come from an overly cold core, a coating that is too thick, or expansion during storage. Separation is usually caused by condensation, frost, or partial melting. The surface must be dry and hard, and the shell should be thin. Do not add water, milk, or cream to a chocolate coating because they disrupt its structure.
Storage and serving
Store coated pieces in a closed container at −18 °C or below, with parchment between layers. Take out only the portions needed for serving. The reliable sequence is a matured cold base, a dry mold, complete freezing, coating at 30–34 °C, and small working batches.
Shape size affects the whole process. Small molds freeze through faster and give more working time, while large pieces need longer pre-freezing. If the bars are meant for transport or sale, pack them individually after coating to limit air exposure and contact with neighboring pieces. A short temperature check before dipping is more reliable than judging by appearance alone.
Keep the coated pieces closed while they stabilize. Frost on the surface is a sign of air or moisture, not a decorative finish. When serving, take out only the required number of pieces and keep the rest frozen. This preserves the contrast between the creamy center and the crisp coating and also avoids repeated temperature changes.
If a second coating is needed, wait until the first layer is fully firm and cold. A second dip over a soft shell traps warmth and can pull the first layer away from the ice cream. The cleanest result usually comes from one thin coating applied at the correct temperature.
Before covering, check that the silicone surface is dry and that the chocolate is fluid but not hot. These two simple checks prevent most rough patches. A cold tray also helps the shell set quickly, so the finished bar does not develop a soft seam where it touches the work surface.