


Drying berries and fruits is convenient because it allows you to preserve seasonal products without freezing, jars, and a large amount of sugar. For home cooking, this is one of the most practical ways to make small-scale preparations: the finished product takes up less space, stores well, and is suitable for snacks, tea, homemade mixes, fillings, and desserts. For keto and LCHF, this method can also be useful, but with a caveat: when removing water, the flavor and sweetness become more concentrated, so portions of dried fruits and berries should almost always be smaller than portions of fresh ones.
The main mistake when drying is to rely solely on time rather than the actual state of the product. Identically named apples, strawberries, or plums can differ in slice thickness, moisture content, ripeness, and juice content. Therefore, reliable drying is always based on a combination of temperature, slice thickness, good arrangement, and checking readiness by hand, rather than just one number from a chart.
What is better to dry and what is not
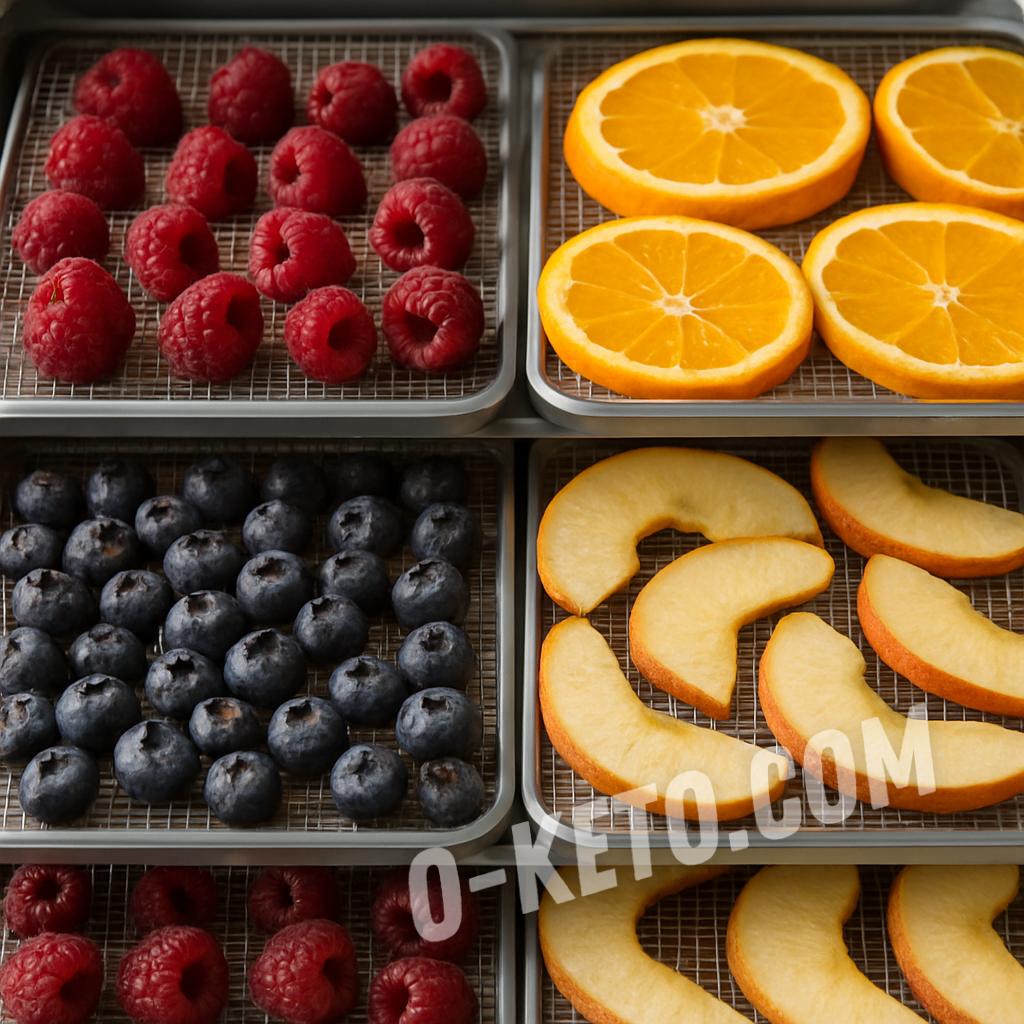
Products with a dense structure or those that can be cut into even pieces dry the best: apples, pears, plums, apricots, strawberries, blueberries, cherries without pits, citrus zest. Berries with very thin skins and a lot of juice are more challenging to work with: raspberries and blackberries can be dried, but they require more careful arrangement and often yield a less even result. The softer and juicier the raw material, the more important it is not to overload the tray and not to raise the temperature too sharply.
For keto and LCHF, it is important to consider not only the technology but also the composition of the product. Dried apples, pears, grapes, bananas, and many sweet fruits remain a concentrated source of sugars. They can be dried for the family or for general use, but this does not automatically make them a good keto product. More neutral options for moderate use are sour berries, zest, herbs, small portions of strawberries, or berry chips without sweeteners.
Preparation of Berries and Fruits for Drying
Before drying, the raw materials are sorted, washed, and completely dried. If water remains on the surface, the process takes longer, and some pieces may start to steam instead of drying. Berries and fruits with damage, rotten spots, or signs of mold should be removed immediately: the defect will not “disappear” during drying, and the taste and safety of the batch will deteriorate.
Fruits should be cut as evenly as possible. This is more important than it seems: thin pieces will dry out and become brittle too soon, while thick ones will remain moist inside. For apples, pears, and similar fruits, slices or rings of uniform thickness are usually convenient. Berries are laid out whole or halved if they are large. Cherries and sweet cherries are better dried without pits, and strawberries should be sliced into pieces of approximately the same thickness.
If a fruit darkens quickly in the air, such as an apple or pear, it can be quickly treated with an acidic medium: a little lemon juice in water will work. This is not necessary for all batches, but it helps to maintain a neater color. After such treatment, the pieces are dried slightly again before laying them out.
Dehydrating in a Dehydrator
A dehydrator is more convenient than an oven because it provides a more even flow of warm air and allows you to maintain a moderate temperature for many hours without constant monitoring. This is especially important for berries and fruits: too high a heat makes the surface dry too quickly, while the inside may remain moist and sticky.
Berries and fruits should be arranged in a single layer, without piling them on top of each other. There should be space between the pieces for air circulation. If the trays are overloaded, moisture escapes poorly, and the drying time is extended. For most berries and fruits, a moderate range of about 50-60 °C is used. Denser fruit slices can be dried closer to the upper limit, while delicate berries should be dried more gently to avoid getting a tough crust on the outside.
During long drying sessions, it is useful to periodically swap the trays if a specific model does not dry evenly. It also makes sense to check for readiness not only on the top but also in the center of the batch, where moisture leaves more slowly. The finished product should be dry, but the logic of readiness varies: apple slices can remain flexible, berries should be slightly springy, while thin slices of strawberries or citrus should be almost crispy.
Oven Drying
The oven is a workable option if you don’t have a dehydrator, but it requires more careful monitoring. The main task is not to bake the fruit, but to slowly remove moisture. Therefore, the temperature is kept low, usually around 50-70 °C, and the door is often left slightly ajar to allow steam to escape, if the oven’s design allows it safely.
It’s better to line the baking tray with parchment paper and arrange the pieces and berries in a single layer. If you have a lot of fruit, it’s more convenient to dry on several levels and periodically swap the trays, because the heating in the oven is almost always less even than in a dehydrator. The higher the moisture content of the product, the more carefully you need to monitor condensation and the rate of steam escape.
For berries and thin slices, the oven often yields more capricious results: one edge may already be dried, while the other still remains wet. Therefore, it is especially important to regularly check the tray and not to rely on “set it and forget it.” But for small home batches, this is still a normal working method.
How to tell when a product is ready
There is no universal time. Readiness is checked by texture after a short cooling period. A warm product almost always feels softer than it actually is. Apples, pears, and plums should usually be dry on the surface and elastic without releasing juice. Berries should be dry on the outside and have no wet, sticky center when pressed. If a piece crumbles to dust, it is over-dried; if it bends and leaves a wet mark, drying needs to continue.
It is better to dry the product to a stable state than to remove it slightly damp “because it will finish later.” Residual moisture in a jar or container quickly reduces shelf life and can lead to mold. This is especially critical for dense berries and fruit slices, where moisture is retained inside longer than it appears on the surface.
How to Store Dried Berries and Fruits
Before packaging, the finished product should be completely cooled. If warm pieces are sealed in a jar or container, condensation will form inside, and part of the batch will quickly become damp. It is best to store dried berries and fruits in a dry, clean container with a lid, in a dark place, and without access to humid air.
If the batch is heterogeneous, it makes sense to check the jar again in the first few days after packaging. Sometimes slightly more humid pieces only become apparent after storage and start to soften their neighbors. In such cases, it is better to dry them separately right away. For long-term storage, stable dryness is more important than an attractive presentation.
Common Mistakes
The most common mistakes in home drying are:
- cutting at different thicknesses;
- overloaded trays without air gaps;
- too high a temperature, where the surface is already dry, but the inside is still moist;
- packing warm products in a closed container;
- storing before full readiness;
- trying to assess readiness only by time, rather than by texture.
If these mistakes are avoided, even simple home drying becomes noticeably more stable. The product stores better, the flavor becomes cleaner, and the risk of mold and moisture increases is reduced.
Conclusion
Drying berries and fruits in a dehydrator is more convenient and stable because it maintains a moderate temperature and airflow better, but an oven is also suitable for small batches at low heat and steam control. The main thing is to carefully prepare the raw materials, cut them evenly, spread them in a single layer, and focus on the actual dryness of the product rather than just the time. For keto, such preparations require especially careful portions because during drying, the sweetness and carbohydrate density become higher than in the fresh product.


