





Home filleting is not only about getting a pretty fillet. When you break down fish yourself, it becomes easier to judge freshness, remove bones carefully, and save useful trim for stock: the head without gills, backbone, fins, and tail. It is one of the most practical kitchen skills because one fish can yield several preparations for different dishes.
Preparing the fish
Fish is easier to handle when it is well chilled. Cold flesh is firmer, the knife tracks more cleanly, and the skin slips less. Before filleting, rinse the fish, remove scales, gills, and innards, and dry it very thoroughly with paper towels. The drier the surface, the easier it is to control the knife and the less likely the fillet is to tear.
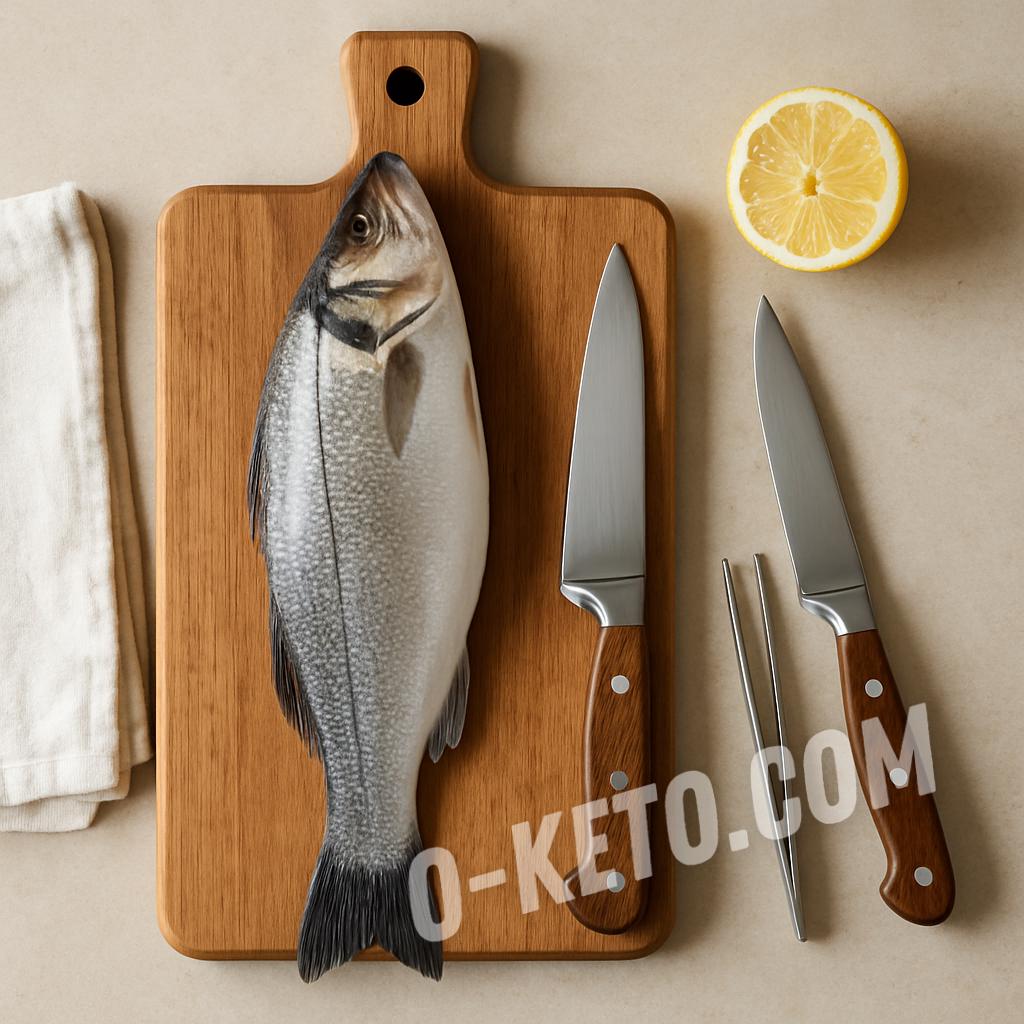
It helps to set out a large board, a sharp filleting knife, kitchen tweezers, and a separate bowl for bones and trim before you begin. Gills are almost always best discarded because they quickly give stock a cloudy and heavy flavor. Most of the remaining parts can be saved if the fish is fresh and clean.
How to remove the first fillet
Lay the fish on its side with the tail facing you. Make a cut behind the gill cover down to the backbone, then turn the knife almost parallel to the board and guide it along the bones with short controlled strokes. Speed matters much less here than control. The blade should seem to glide over the skeleton instead of forcing its way blindly through the flesh.
Do not try to separate the whole fillet in one sweep. That usually makes the flesh ragged and uneven. It is far safer to lift the released part gradually with your free hand and feel where the bone line is running. A calm pace usually means less wasted flesh.
How to remove the second fillet
Turn the fish over and repeat the same path on the other side. Near the tail, it is often useful to leave a small strip of skin as an anchor so the fillet does not slide across the board, then cut that last. This helps especially on medium fish where the fillet is already broad enough to move around easily.
The second fillet on a smaller fish is usually a little harder to remove because the first side no longer supports the body. In that case, it is better to steady the fish with a towel or paper towel. That is safer than pinning down a slippery fish with a bare hand close to the blade.
Round and flat fish are cut differently
Round fish such as trout, zander, or cod are usually broken down into two large fillets along the backbone. Flat fish such as flounder follow a different pattern: first make a long center cut along the bone line, then remove four thinner fillets, two from each side. Here it matters even more to use short strokes and stay close to the bones because the flesh is thin and can easily come away with extra membrane.
If the fish is small and the fillets turn out narrow, it is not always worth forcing a perfect restaurant-style sheet from every part. Often it is more rational to keep the best upper pieces for pan cooking and use the thin parts for mince, fish cakes, or soup. That approach wastes less flesh and suits home cooking better.
Rational breakdown with less waste
It helps to decide before cutting what you want to cook from the fish. The neatest and thickest parts of the fillet are best kept for frying, roasting, or light curing. Belly trim, tail ends, and irregular pieces are ideal for chopped dishes, fillings, or fish stock. Then you do not have to force the whole fish into one format.
If the skin is strong and the fish is headed for the pan or oven, it is often worth leaving it on because the fillet stays together better and holds moisture. But for tartare, carpaccio, delicate presentation, or quick portioned freezing, it is better to remove the skin and remaining bones right away during filleting. The earlier you assign each part to its future use, the cleaner the work becomes and the less good fish ends up as waste.
Bones, skin, and pin bones
After removing the fillet, run your fingers along the center line and find the pin bones. Pull them out with tweezers in the direction they grow so the flesh is not torn. If a recipe needs skinless fillets, place the piece skin side down, make a small cut near the tail, and keep the knife almost flat as you slide it between the flesh and the skin.
Skin and tiny bones are not always waste. Skin is often worth keeping for roasting or pan cooking because it protects the fillet from drying out. But for delicate presentations or lightly cured fish, neatly removing the skin can make the texture much more pleasant.
What to save for stock and what to discard
Trim from filleting should not be thrown away automatically. The head without gills, backbone, tail, and fins make good fish stock. Those parts are ideal for the base of soups and sauces. For a clean taste, they should be rinsed free of blood and simmered gently rather than boiled hard; about 1 hour is usually enough.
Gills, dark blood clots near the backbone, and any parts with an unpleasant smell are better removed at once. Even one uncleared gill can spoil the whole future stock. Careful sorting of trim is far more useful than trying to use every part indiscriminately.
Why fish needs delicate handling
Fish has a delicate structure and its collagen breaks down faster than meat collagen. At roughly 50-55 °C fish already begins to turn silky and tender. That is one reason properly cooked fish feels so soft after a short cooking time, but it also explains why fish dries out so easily when handled too aggressively.
That is why good home filleting matters as part of the whole process, not as an isolated skill. Cleanly removed fillets are easier to cure, fry, roast, and serve well. And the remaining parts can become stock, letting you use most of the fish with very little waste.
Sources
- Selecting and Serving Fresh and Frozen Seafood Safely — U.S. Food and Drug Administration
- Market Forms of Fresh Fish and Cleaning Methods — North Carolina Sea Grant
- How to fillet a fish — BBC Good Food
- How to fillet your fish — FishFiles Australia
- Technique: Cleaning and filleting a round fish — Le Cordon Bleu


