


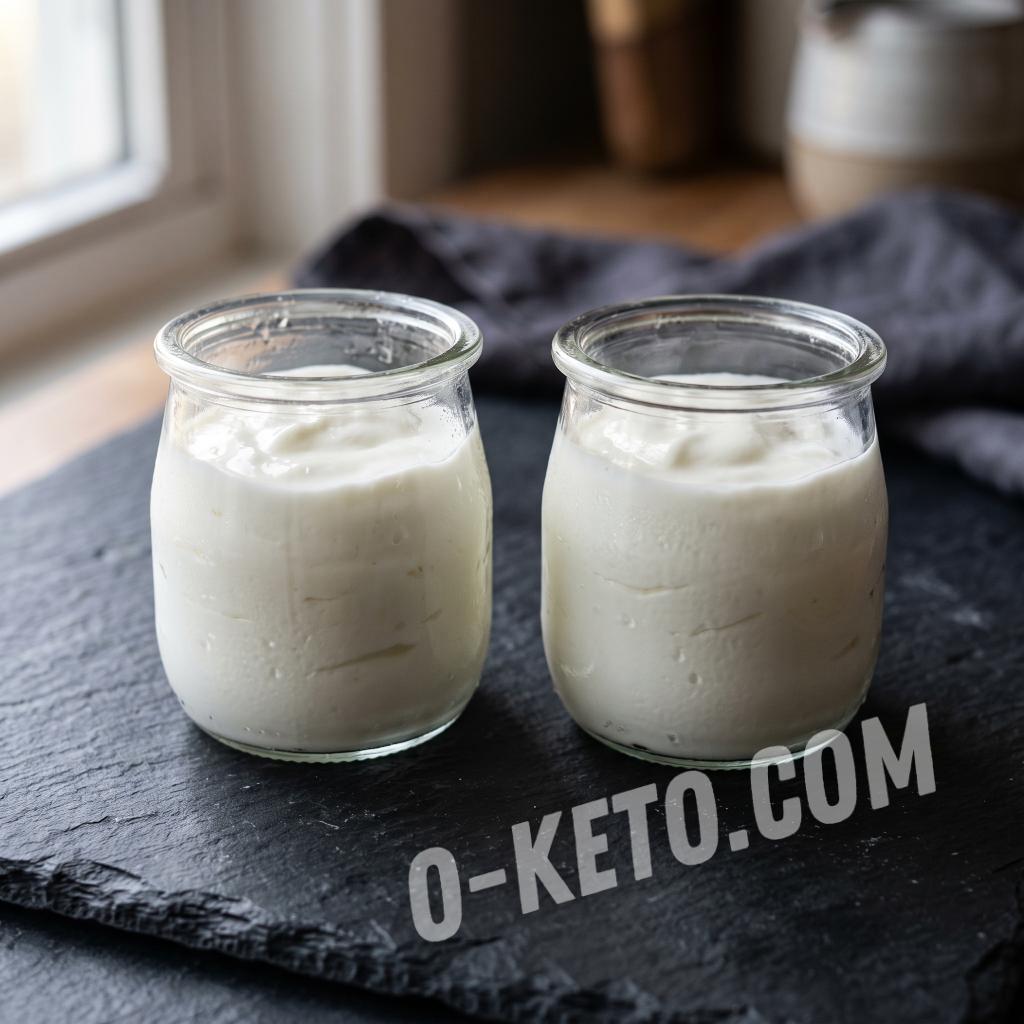

Homemade yogurt sounds simple, but the final result depends on more than a single packet of starter. Texture, acidity, and overall quality come from a chain of small practical decisions: what kind of milk you used, whether the starter was added at the right temperature, how stable the fermentation stayed, and whether the jars were given enough time to settle after fermentation. That is why the same short recipe can produce a clean, spoonable yogurt in one kitchen and a thin, overly sour, or disappointing result in another.
For keto and LCHF cooking, homemade yogurt is useful because it gives you full control over the ingredient list. You are not forced into sweetened fruit cups, starch-thickened store products, or dairy desserts pretending to be yogurt. At home you can build a plain cultured base first and only then decide how to use it: as breakfast, a snack, part of a sauce, a savory accompaniment to eggs or meat, or a calmer alternative to heavily processed dairy snacks.
What good homemade yogurt actually starts with
The base is simple: milk plus an active yogurt starter. But the word active matters. If the culture is old, poorly stored, or simply weak, even perfectly decent milk may not give a convincing result. In the same way, heat is not a universal fix. Some people assume that hotter milk will somehow help the process along, but that usually works against the bacteria rather than for them. Yogurt is not made by forcing dairy harder. It is made by creating a stable environment in which the culture can work calmly.
That is why plain milk without sweet flavors or dessert-style add-ins is usually the easiest starting point. When the milk already carries an odd taste, sweetness, or unnecessary processing notes, that character often stays in the final yogurt too. It is much easier to begin with a neutral dairy base and a straightforward starter culture than to repair the result later with vanilla, sugar, syrup, or fruit puree.
Why temperature matters more than people expect
One of the most common mistakes is adding the starter to milk that is too hot. From the outside this feels intuitive: yogurt is a fermented dairy product, so warmer must mean faster. But bacteria do not need near-boiling milk to “wake up.” They need a range in which they can survive and multiply predictably. In practice that usually means warming the milk only to a comfortably warm state, around 38-40 °C, before the starter goes in.
After that, the fermentation phase benefits from steadiness more than from intensity. If the temperature rises and falls unpredictably, the culture may work unevenly and the yogurt can become looser, more sharply acidic, or simply inconsistent from jar to jar. This is where sous vide becomes genuinely practical rather than trendy. It is not about showing off a gadget. It is about holding a reliable temperature around 43 °C without guessing what is happening inside an oven, improvised warm corner, or loosely calibrated yogurt maker.
Why loosely closed jars and minimal disturbance help
Once the milk and starter are mixed and poured into jars, many people immediately want to check, shake, move, open, and inspect everything. Homemade yogurt usually rewards the opposite behavior. The jars should be closed, but not aggressively over-tightened, and then mostly left alone. Constant repositioning, opening the lids too early, or treating the ferment like it needs supervision every few minutes usually creates more confusion than control.
This matters because yogurt texture forms gradually. While the jars are still warm, the yogurt can look softer than expected. That alone does not mean anything went wrong. A common beginner mistake is to judge the result too early, decide that it failed, and start changing the process before the product ever had a chance to stabilize. In many cases the problem is not failed fermentation at all, but premature evaluation.
Why chilling is part of the recipe, not just storage
After fermentation, yogurt often still looks like a work in progress. That is normal. The warm product can be softer, gentler, and less clearly structured than the final version you want to eat. Giving the jars a brief quiet rest and then chilling them fully in the refrigerator is what helps the body tighten and the flavor settle into a cleaner cultured profile.
In other words, the refrigerator is not only where the yogurt waits after it is finished. It is part of how the finish happens. If you keep opening the jars, tasting too early, or expecting the final texture before the cooling phase, it becomes easy to misread a normal process as a failure. Very often a yogurt that seemed too soft while warm feels completely right after proper chilling.
Common household mistakes
The most obvious mistake is overheating the milk before the starter is added. Another is relying on a weak or mishandled culture and expecting the process to compensate for it. A third is impatience: opening jars too early, moving them too much, or trying to evaluate texture before the yogurt has stabilized. Hygiene also matters. Homemade yogurt does not require a laboratory, but it does benefit from clean jars, clean lids, and a kitchen setup that is not carrying old residue or stale odors into the dairy.
It also helps not to confuse the base yogurt with the serving idea. If someone immediately turns the result into a sweet dessert with honey, banana, syrup, or sugary toppings, they are no longer really evaluating the yogurt itself. For a keto kitchen, it is usually better to get a clean unsweetened base right first and only then decide whether a tiny amount of berries, vanilla, cinnamon, or another low-carb accent is even needed.
How to use homemade yogurt in a low-carb kitchen
The obvious use is breakfast or a snack, but that is only the beginning. Plain homemade yogurt can become the cultured base for cold sauces, dips, dressings, quick marinades, and savory toppings when you want acidity without vinegar and creaminess without a heavy mayonnaise profile. It works well with eggs, cucumbers, herbs, fish, roasted vegetables, and strongly seasoned meat dishes where a cool dairy note balances the plate.
If the taste still feels too sharp, it is often better to adjust with proportion, chill, and very small additions than with automatic sweetening. Sometimes the answer is simply more refrigerator time. Sometimes it is a few berries. Sometimes it is a pinch of spice. The basic principle stays the same: first build a strong plain yogurt, then shape it gently, instead of trying to rescue a weak base with toppings.
Conclusion
Good homemade yogurt rests on a few calm decisions: decent milk, a live starter, a moderate warm start, stable fermentation, and enough patience during cooling. If you avoid overheating, do not rush to open the jars, and allow the product to fully stabilize, it becomes much easier to get a clean, balanced yogurt that fits everyday low-carb cooking without unnecessary sugars or filler ingredients.


